I am running significantly more than previous weeks – the goal is 100k per week for the next 3 weeks, and taper down to 80k for 2 additional weeks. For the four weeks before my 50 miler I will run 50k per week.
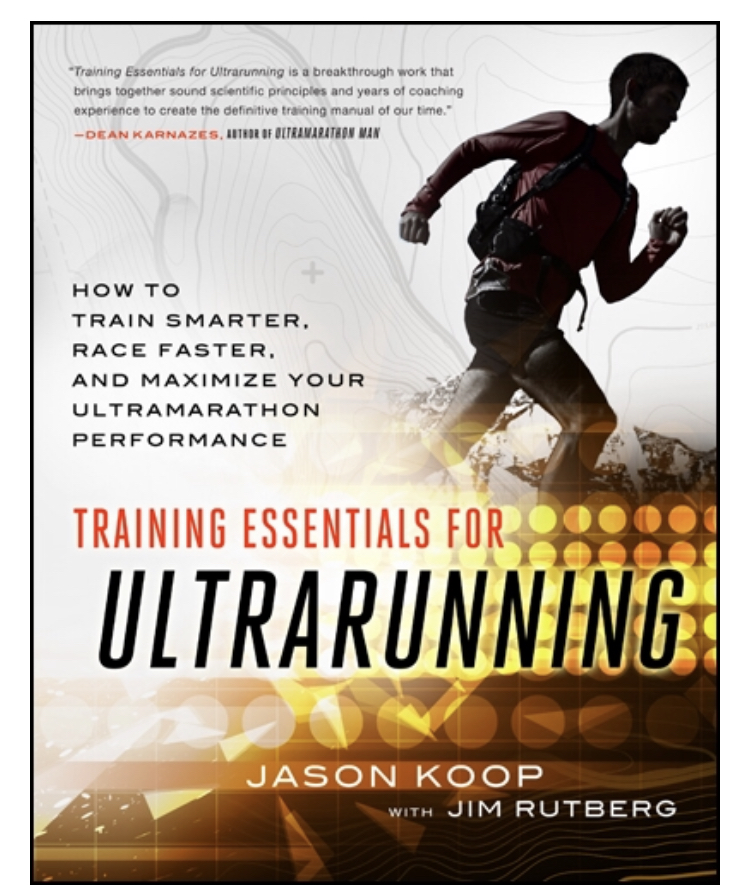
During a 20k treadmill run I felt a blister form at 7k. I continued running and stopped to pee and check my foot when I hit 11k (because 10k was too much of a round number). I followed Jason Koop’s 9 step blister process as listed below:
I have found success with the following nine-step plan:
https://www.velopress.com/books/training-essentials-for-ultrarunning/
Clean it: Clean the surface of the blister and the surrounding skin. If an alcohol pad or disinfectant is available, use it. If not, it is still usually best to proceed to step 2. You are less prone to infection if you can properly manage the blister while it is small and treatable. Large broken blisters will become more prone to infection more readily than small broken blisters because there is more opportunity to become infected through the larger area of damaged and exposed skin.
Pop it: Puncture the blister with a needle, sharp scissors, or scalpel. Take care to puncture the blister enough to allow fluid to drain but not so much that the blister roof becomes detached. If you are using a needle (safety pins from a race number also work well), put three to four holes in the blister so that it will drain. Ideally, place the punctures such that fluid can continue to drain while you keep on running.
Squeeze it: Squeeze the fluid out of the blister.
Clean it again: Clean and dry the surface of the blister and the surrounding skin. You are now prepping the skin to apply a patch, so ensure that it is dry and free of debris. You can choose to add a very small dab of lubricant to the blister roof. This is to prevent the patch from sticking to the blister roof when you eventually peel the tape off.
Size it up: Size up the area you are going to patch, and cut a piece of tape or bandage to cover the blister. The patch should be large enough so that it can stick to the surrounding skin. If the blister is on a toe, this might mean wrapping the entire toe. If you do have to wrap a toe, it’s usually best to wrap the adjacent toes also so that the tape does not rub directly on adjacent skin.
Tape it: Apply a tape adhesive such as tincture of benzoin to the area surrounding the blister. Although the tape has its own adhesive backing, using an additional tape adhesive will ensure a better stick.
Tape it again: Place the tape down on the skin from one edge of the tape to the other. Be careful to avoid folds and creases. If you do get a fold or a crease, start over.
Lightly press down on the patch to ensure the adhesive completely sticks to the skin.
Put your socks on, lace up your shoes, and run!
If you are particularly blister prone, practice various techniques at home. Cutting and placing the patch on the surface of the skin can be the most frustrating part of the process during a race. The tape is sticky and adheres to itself and to your fingers. You’re in a hurry. You’re sweaty and dirty. And you’re working in a dirty, dusty environment. Finding a routine and learning some simple skills goes a long way to making the process smoother and faster in race conditions. As with any other skill, practice makes perfect!
It wasn’t a big blister by any means, and that was the point; deal with it before it became a show stopper.
I did as described above and ran the final 9k. The tape get odd but not in a bad way, and I finished no worse for wear.
